Introduction
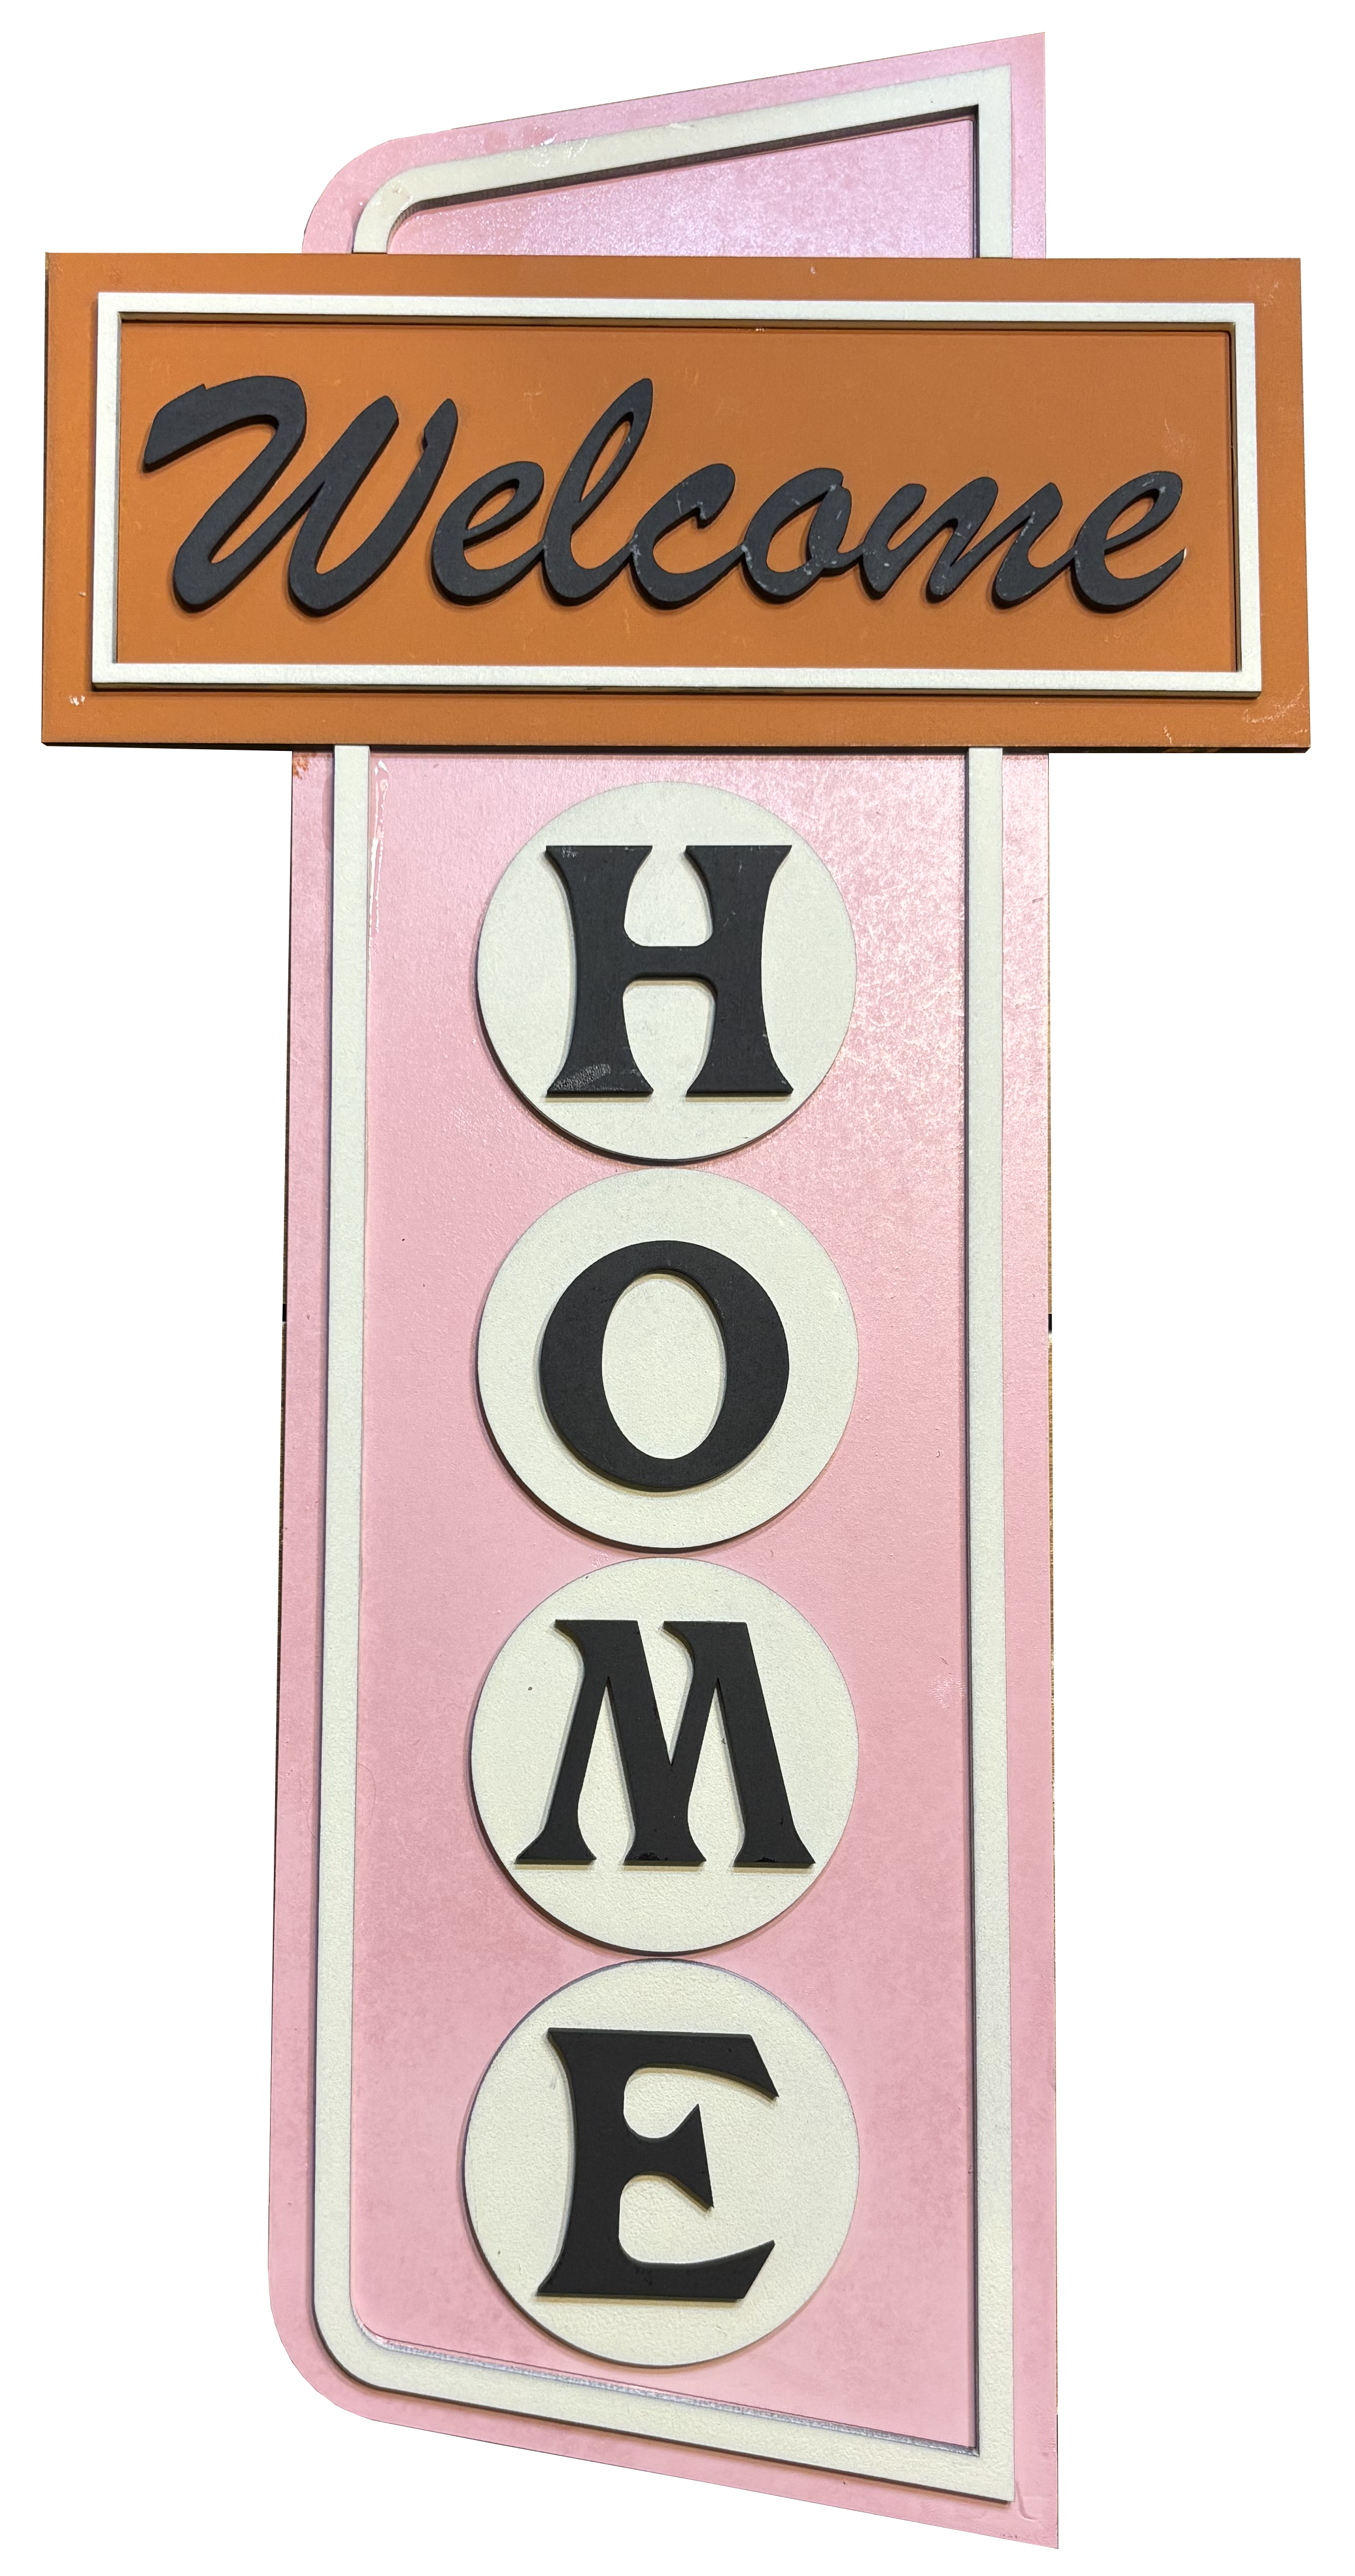
If you are like me, you love the look of vintage motel signs. I wanted to come up with a unique way to add this to my home and came up with the project we are going to cover today: The Retro Motel inspired “Welcome Home” sign.
You can of course create your own design, but here’s the link to buy mine: https://emeedeecreates.etsy.com/listing/1871947077
Materials
- Sign Pieces (I cut mine using my Omtech Polar!)
- 1/8 inch Wood or acrylic (I used MDF that I painted, but this would look so cool in acrylic too!)
- Paint, Wood Stain, or Markers (I used spray paint)
- Glue
- Sandpaper
- Paint brushes or sponges
Step-by-Step Instructions
Step 1: Cut Your Pieces
Start by cutting your pieces. When I design my files, I use black to indicate cut lines, red for engraving, and green for scoring. The file I used is mostly just cut pieces, but I placed score lines to indicate exactly where to glue the layers together.
Step 2: Prepare the Pieces

Remove any masking or residue- I find that cleaning my pieces with 70% Isopropyl Alcohol works very well to remove any soot or oily residue from my laser cutting and engraving.
Once you’ve cleaned up your pieces, take some sandpaper to clean up any rough edges. If needed, clean with the alcohol again.
I usually like to put my pieces together to ensure everything is laying the way I want (see picture). In this case, I’m happy and ready to move on.
Step 3: Lay out and Paint the Sign Pieces

If painting or staining, go ahead and apply a layer of paint. Let this dry completely.
For my project, I took it out to the garage and used some spray paint I already had on hand. It was pretty cold when I did this, so after about an hour of dry time, I moved the pieces inside to finish drying.
Step 4: Glue the Pieces Together
Lay out the pieces. If you look closely, you should be able to see your score marks through the paint.

Apply a thin layer of glue to the backs of the the letter pieces (I just used Gorilla Glue, but any super glue should be fine). The HOME letters will go on the circular pieces over the score lines. The scored lines will be hidden by the top layer when finished.

The HOME circles will then be glued on the round score lines on the base piece.

Now glue the “Welcome” letters and the small border piece to the small rectangular sign. This piece is also scored for perfect placement.

Allow the glue to dry completely before moving on to the next step.
Step 5: Assemble the sign

Take your base piece with the “HOME” letters glued in place. Fit together the “Welcome” section with the 2 piece border.

Glue all the pieces together and allow to dry completely.
Step 6: Hang and Enjoy!

Check the pieces to ensure they are dry. Once dry, you can display wherever you like!
Final Tips
This could be the perfect project for a funky retro touch to your decor! You could also cut the pieces from acrylic for a glossy look or even mix materials. And of course you can always customize the colors used.
I should also point out that my version is about 18 inches high but that I cut this on the Omtech Polar. You could cut this on a smaller laser but you should anticipate a smaller finished project.
If you make your own version of this project, I’d love to see it! Be sure to tag me @emeedeecreates!